So here we go, my first blog on this site, and I have chosen the very exciting topic of recaulking a bathtub. I know, I know, it's so exciting you want to tinkle in your pants.. just kidding. So I know it's not THAT exciting, but regardless, it's my first blog, and I worked my butt off today, so I'm going to tell you all about my recaulking experience which turned
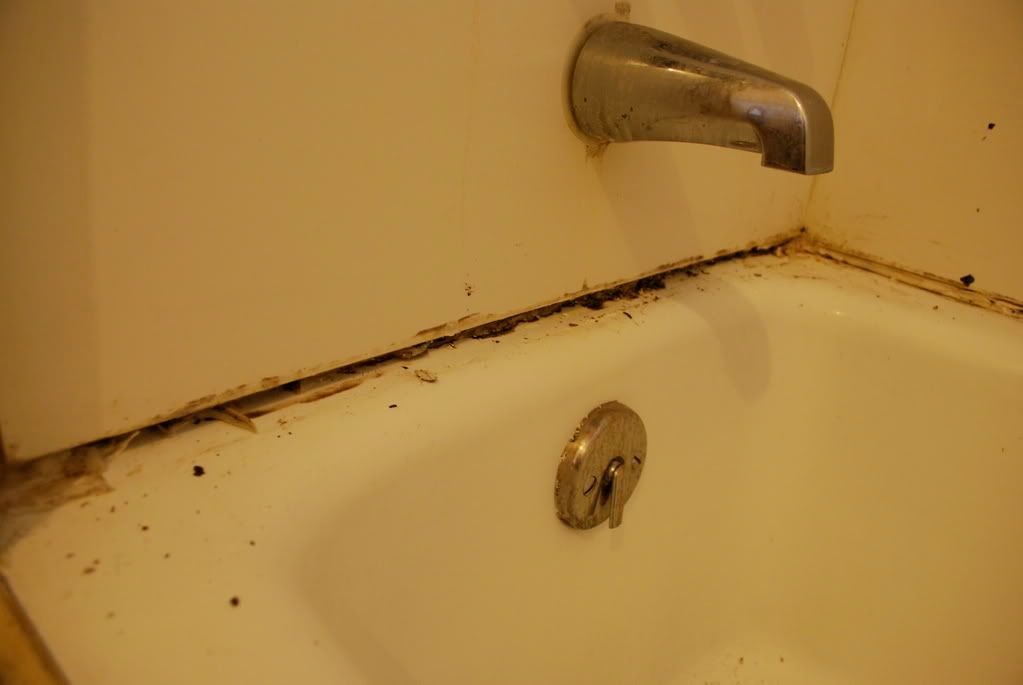
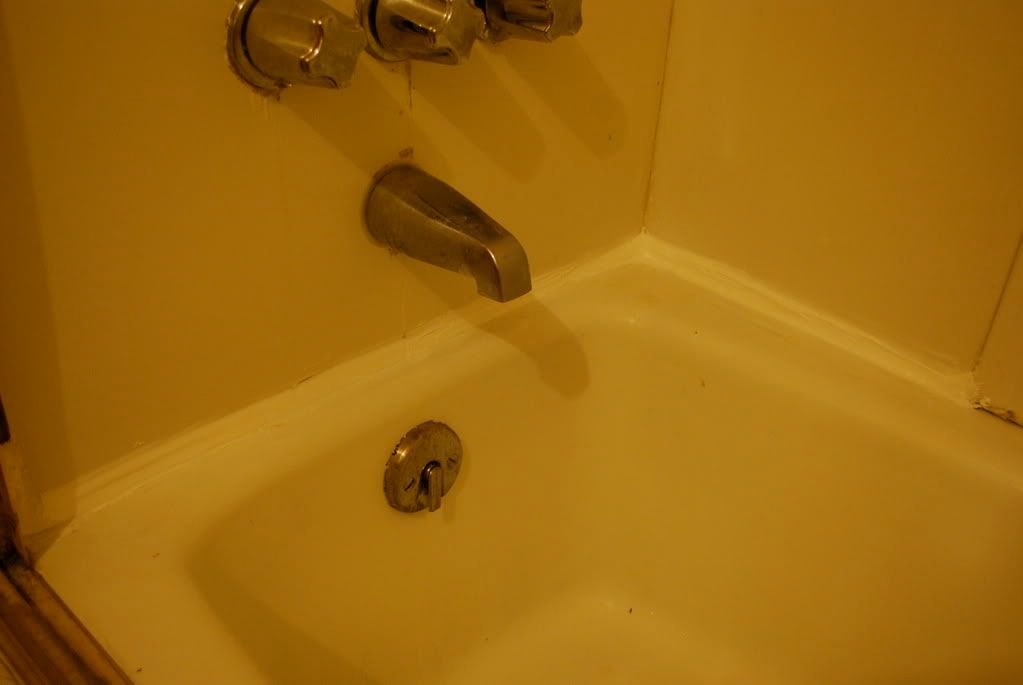
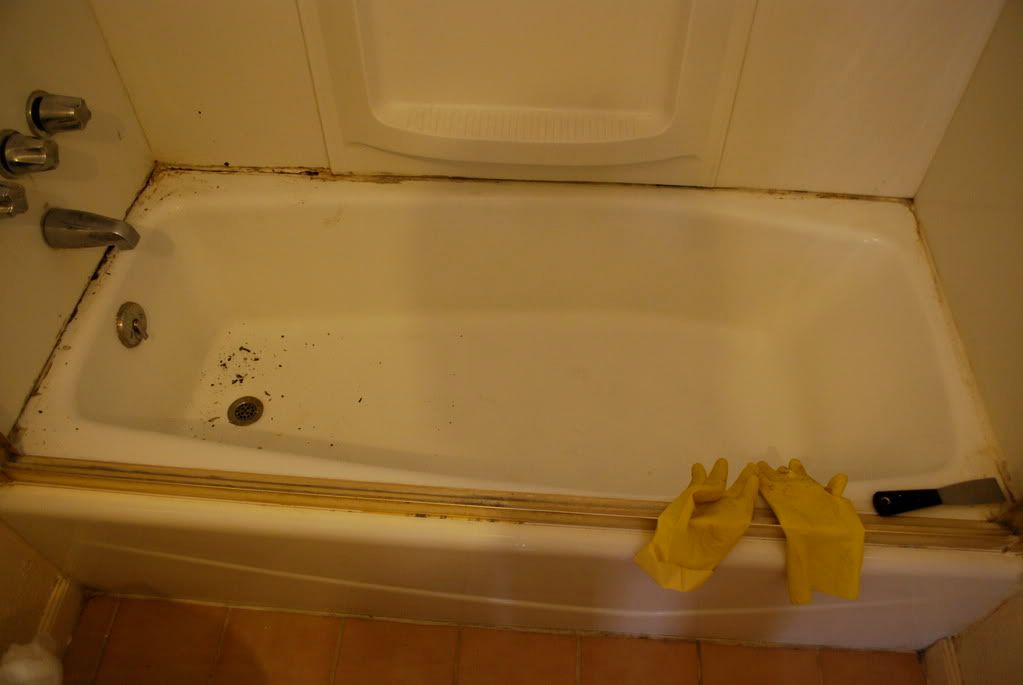
THIS:
... Into
THIS:
Do I have your attention? It's not the best, but it is
WAY better, yah? Hehe.
So here is
Exhibit A:
Yes,
THIS is what I had to work with. Some may call me crazy, but I prefer the term
BRAVE. But for everyone's info, I had nothing to do with getting the bathtub into such a wonderful (sarcasm) condition. Let's just say it was inherited that way. But it's all good, I am going to make sure it never reaches such a condition ever again. And for those who are cringing at the black specks in the tub, those aren't part of the bathtub floor - they are just additional mildewy pieces of caulk left in the bottom of the tub for dramatic effect. Okay, not for that purpose, I just hadn't wiped them out yet.. haha.
How it all began...It all started this morning when I decided it would be a great idea to do my nails. As I was pondering that possibility, I remembered that one of my projects in queue was to recaulk the bathroom. So, I decided to instead do the latter, which at the time didn't seem TOO daunting of a task...
..Little did I know what lingered under the surface of the caulk. I don't have a picture of what the tub looked like before I removed the caulk, but it basically looked like there was black caulk all along the front of the tub. And when I took it all off, I got the picture that you saw above.
In terms of taking off the old caulk, I had caulk remover but when I read the instructions on the back, I realized that it is not supposed to be used for 'tub surrounds'. Along with like 20 other things you can't use it for, but I wonder what else caulk is used for aside from such things. So I guess that idea was down the drain. I tried pulling it up with my hands, and it worked on some sections, but other sections were soo hard to pull. I decided I needed a utility knife.. so I went to Home Depot.
After getting a utility knife (and a few funny looks from other shoppers while I wielded it lol), I went to the bathroom section to check out caulk guns. The guy there was very helpful, well, after he chuckled at my pronunciation of the word 'caulk'. He basically showed me how to use a caulk gun and gave me a few pointers for doing a decent job, especially it being my first attempt. So I am very grateful for his advice, because it made me feel more confident about what I was about to do.
I went back home and began cutting away.
A word of caution:
Make sure you are cutting the caulk and not the bathtub tiles HAHAHAHA. For the most part, I cut caulk and then it was time to apply new caulk.
PAINTERS TAPE IS A MUST. If you want to get straight lines of caulk, use painters tape as a guide, it also reduces the amount of extra caulk mess you have left afterward on the tub. And it gives it a more professional appearance. For the first part of the tub, I didn't use it, and it came out alright, so I can live with it. But for the second part of the tub, I
DID use it and the difference is obvious.
 Buy at least 2 tubes of caulk, just in case.
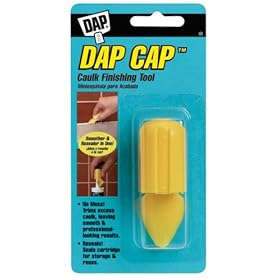
I ran out at the very end, so I had to grab the excess from other parts of the tub using my
DAP cap (which is very handy for smoothing out the caulk and I believe you should use it or use a
HOMAX caulk finisher, both seen below:)

Have a LOT of paper towels readily available. Caulk is messy. don't be scared to get it on your hands, but have paper towels around because you will have to wipe the excess off of your smoothing tool. In fact if you want, you can even use a wet finger to smooth the caulk, but it won't be as nice looking as using a tool.
Buy either
DAP or
GE caulk - don't be skimpy on caulk or else you will be recaulking again in 6 months.
DAP and
GE brands are really good, and you should buy the
silicone kind in case you mess up and need to easily peel it back off.

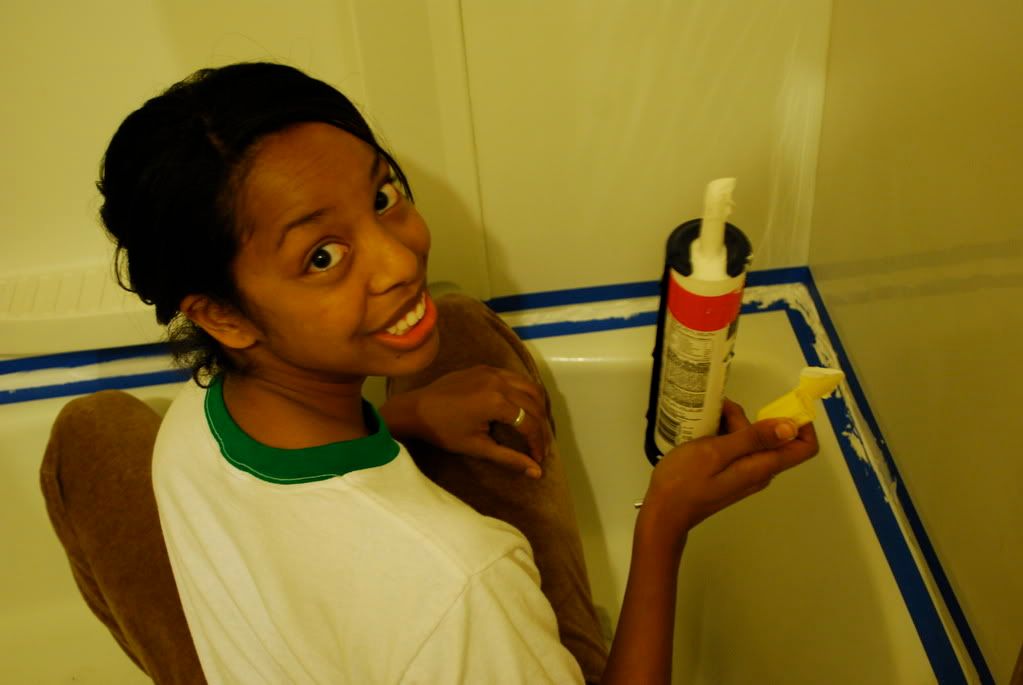
Look at me, I'm being handy! That's the DAP cap in my hand.
I'm really not at all disappointed in my first attempt at caulking. It's good practice for when we get our own house and need to do such things. I probably will caulk the tub wall joints at a later date, as well as the areas around the faucets, but for now, I think I've had my fill.
Here's how it looked afterward - sorry I didn't yet wash my sandal prints out of the bottom of the tub, so just focus on the new caulk hahaha.
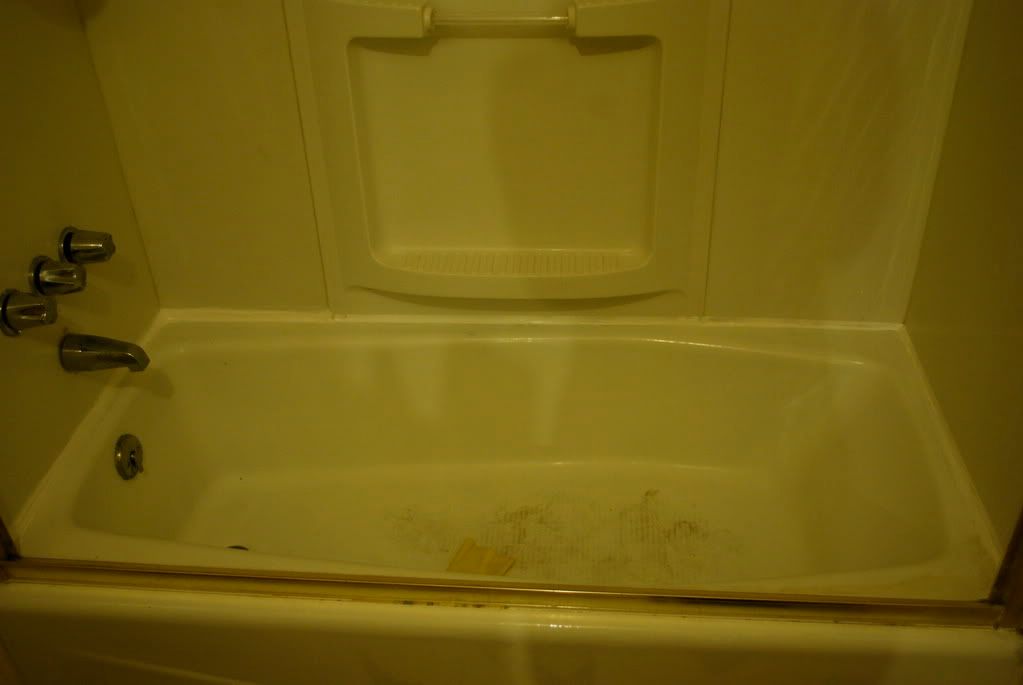
And to compare, below is the "BEFORE" picture once again:
So that's my first blog. Hope you enjoyed it. And perhaps parts of it were even helpful to you.